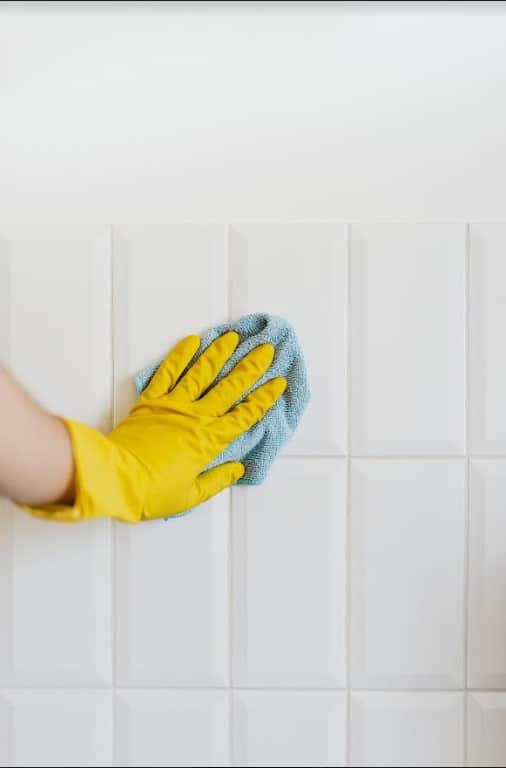
Last week, we talked about sealing natural stone. This week, we’re talking about sealing the grout that surrounds it! We provide our best tips on how to apply grout sealer to keep the grout around your wall and floor tiles looking fresh and new – not to mention the added bonus of making cleaning a breeze.
Does Grout Really Need to be Sealed?
Grout seals the joints between tiles like wall or floor tiles, or the backsplash often found in kitchens and bathrooms. It typically consists of a mixture of water, cement and sand, which results in a porous material, prone to absorbing grease, oils and water. This can lead to damage and discoloration over time, which can detract from the look of your tiles, no matter how diligently you clean them.
Sealing grout, and re-sealing as needed, prevents it from soaking up moisture and taking on stains. It can also make the difference between a cleaning routine that requires vigorous scrubbing, and one that simply requires wiping the surface down.
Prepare Grout for Sealing
Before applying sealer, you’ll want to ensure you’ve cleaned the surface thoroughly and repaired any cracks or chips in the grout lines. To clean, scrub grout lines with a toothbrush and soapy water, or use a 50-50 vinegar and warm water solution to tackle stains. Allow the surface to dry for at least 45 minutes before sealing.
Choosing a Sealer
Choosing an appropriate sealer depends on the type of tile and its location. The amount of moisture a sealer can tolerate will also factor in. If sealer is being applied in a high moisture area, like a shower, you’ll want to choose a sealer that can tolerate high levels of moisture. Carefully read labels to ensure a sealer is safe and appropriate to use on the tiles in your space, or contact a manufacturer for guidance.
Sealers generally come in two categories: penetrating sealers, and membrane-forming sealers:
- Penetrating Sealers: These sealers penetrate the grout, filling in gaps to keep moisture out. Penetrating sealers work well in high moisture areas like bathrooms, making them an excellent choice for showers.
- Membrane-forming Sealers: These sealers form a protective film or coating on the surface to resist water penetration. While they work well in the kitchen, they are not recommended for use in very high moisture areas, as water can become trapped under the surface and lead to mildew. Membrane-forming sealers also often feature pigments, which can alter the grout color. It’s important to note that these sealers work on unglazed tile, like stone, but will not adhere to glazed tiles, like most ceramics.
Sealer Applicators
While aerosol spray-on sealers are both common and convenient, they may not always be best suited to your situation. For a surface with unsealed tiles and thin grout lines, using a sponge makes it easy to seal large areas by wiping over both surfaces. In situations where you are sealing grout between glazed tiles (to which the sealer won’t adhere), you’ll want to use an applicator brush or specialty applicator bottle to only seal the grout lines.
How to Apply Grout Sealer
- Apply sealer methodically, working in small areas at a time and moving from one end to the other, such as from left to right, to ensure consistency.
- Use a dry cloth to wipe off excess sealer, removing it from the tile before it dries. Sealer can leave a foggy film on tiles which can be difficult to remove once dry. Carefully read product labels or consult a manufacturer to ensure that your tiles are protected.
- Allow the first coat to dry for at least an hour before applying a second coat. It generally takes up to three coats to ensure protection. You can test your grout by applying a few drops of water. If the water beads up on the surface, the sealer is doing its job. If not, repeat the process.
- Allow the space to dry completely before use. Some sealers can take up to 48 hours to cure, so be sure to check the product label or consult a manufacturer for appropriate curing times.
- Re-seal grout as needed. This can vary based on factors like the location of the tiles and grout, the level of moisture present and the brand of sealer used.
- Once grout has been sealed, cleaning can be as simple as wiping down the surface with soapy water (or a cleaner that is safe to use on your tile) as needed.
We hope you find this guide on how to apply grout sealer helpful! Cosmos SurfacesTM is a 2nd generation, family-owned business dedicated to providing you with knowledge, meaningful customer service and high-quality surface materials. We offer a wide range of products and resources to assist our customers with their surface material needs. Contact us today to get started!
Color of the Month: Classic Blue
This month’s featured trending color is Pantone 19-4052, Classic Blue! The Pantone Color Trend Report says, “A boundless blue hue, Classic Blue is evocative of the vast and infinite evening sky opening us up to a world of possibilities.”

The blue-gray background and thick, crystalline bands of white resemble a wintry wood in the type of quartzite we’ve dubbed Cassini. Also known as Vogue Blue or Paramount, Cassini paints a striking scene. Cassini is a cool and boldly unique choice for any modern space, including kitchens, bathrooms, and living rooms. Quartzite is resistant to scratching, staining, and fading, and the beauty is unmatched.


